Using xeoServices: A Practical Example

This guide demonstrates how to use xeoServices in a Node.js project, using the xeoservices-example repository as a reference. The project provides a simple CLI built with yargs to interact with xeoServices APIs for 3D model conversion and storage.

Prerequisites
- Node.js and pnpm installed
- Access to xeoServices and a valid
XEO_SERVICES_ACCESS_TOKEN(Contact Us)
Getting Started
-
Install dependencies:
pnpm install -
Configure environment: Copy the example environment file and set your access token:
cp .env.example .env
# Edit .env to add your XEO_SERVICES_ACCESS_TOKEN -
Explore CLI options:
pnpm start --help
Available Commands
The CLI exposes several commands to interact with xeoServices:
1. Check Service Health
Check the status of xeoServices:
pnpm start health
This command calls the health endpoint and logs the status of the services at ./logs/health.log.
2. Convert IFC to XKT
Register a conversion process for an IFC file:
pnpm start convert-ifc-xkt --input ./assets/Duplex.ifc
This will upload the IFC file and start a conversion process. The CLI will return a process_id and store log at ./logs/Duplex.ifc-convert-request.log.json
3. Check Process Status
Check the status of a conversion process:
pnpm start check-process --process <process_id>
Replace <process_id> with the ID returned from the previous step. This command will fetch the current status which will be saved as log at ./logs <process_di>-process-status.log.json
Project Structure
src/commands/— Contains CLI command implementations (health check, conversion, process status)src/client.ts— Handles API requests to xeoServicessrc/types/— TypeScript types for API schemasassets/— Example IFC file for testing
Example Workflow
- Check service health:
pnpm start health - Start a conversion:
pnpm start convert-ifc-xkt --input ./assets/Duplex.ifc - Check the process status using the returned process ID:
pnpm start check-process --process <process_id>
Understanding the Process Status Log
After running a conversion, the CLI generates saves process status response as log file (e.g., logs/<process_id>-process-status.log.json) that details the process and its outputs. Here’s what you’ll find in such a log:
- timestamp: When the log was created.
- processResponse: Main object containing process details:
- id: Unique process identifier.
- processOutputs: Array of output files generated by the process. Each entry includes:
fileName: Name of the output file (e.g.,output.xkt,output.metadata.json, logs, database files).fileType: Type of file (e.g.,xkt,json,log,db).fileSize: Size in bytes.url: Direct download link to the file.createdAt/updatedAt: Timestamps for file creation and update.
- status: Current status of the process (e.g.,
process_completed). - type: Type of conversion (e.g.,
ifc-xkt). - viewerUrl: A ready-to-use link to view the converted model in the xeoServices web viewer.
- createdAt/updatedAt: Timestamps for the process itself.
Example Output Files
output.xkt: The main converted 3D model file.output.metadata.json: Metadata about the conversion.metadata.db: Database file with additional data.glb-xkt.log,ifc-glb.log,metadata-db.log: Log files for each conversion step.
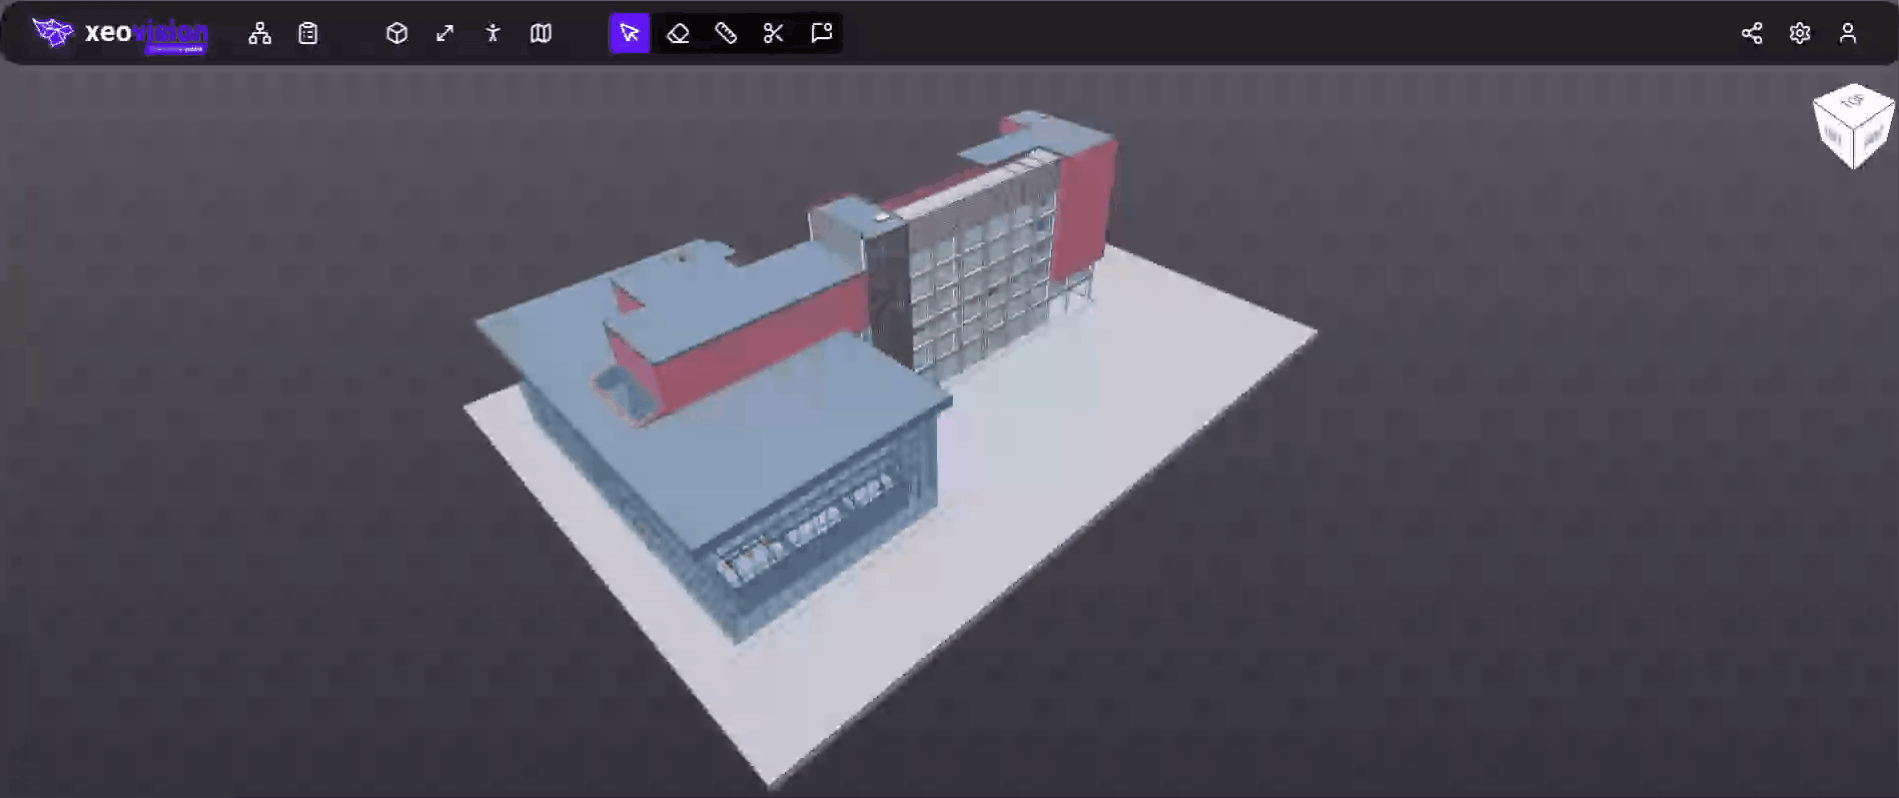
Example Viewer Link
You can instantly preview the result in your browser using the viewerUrl from the log:
https://xeo.vision/app/load?url=...&type=xkt
This makes it easy to validate and share conversion results.
By understanding the log structure, you can automate post-processing, download results, or integrate with other tools.
Conclusion
The xeoservices-example project provides a ready-to-use CLI for interacting with xeoServices, making it easy to automate 3D model conversions and monitor their status. For more details, see the xeoServices documentation.